How To Spice Up Your Fall Decorations

Courtesy of Talula Dempsey ‘20
October 15, 2018
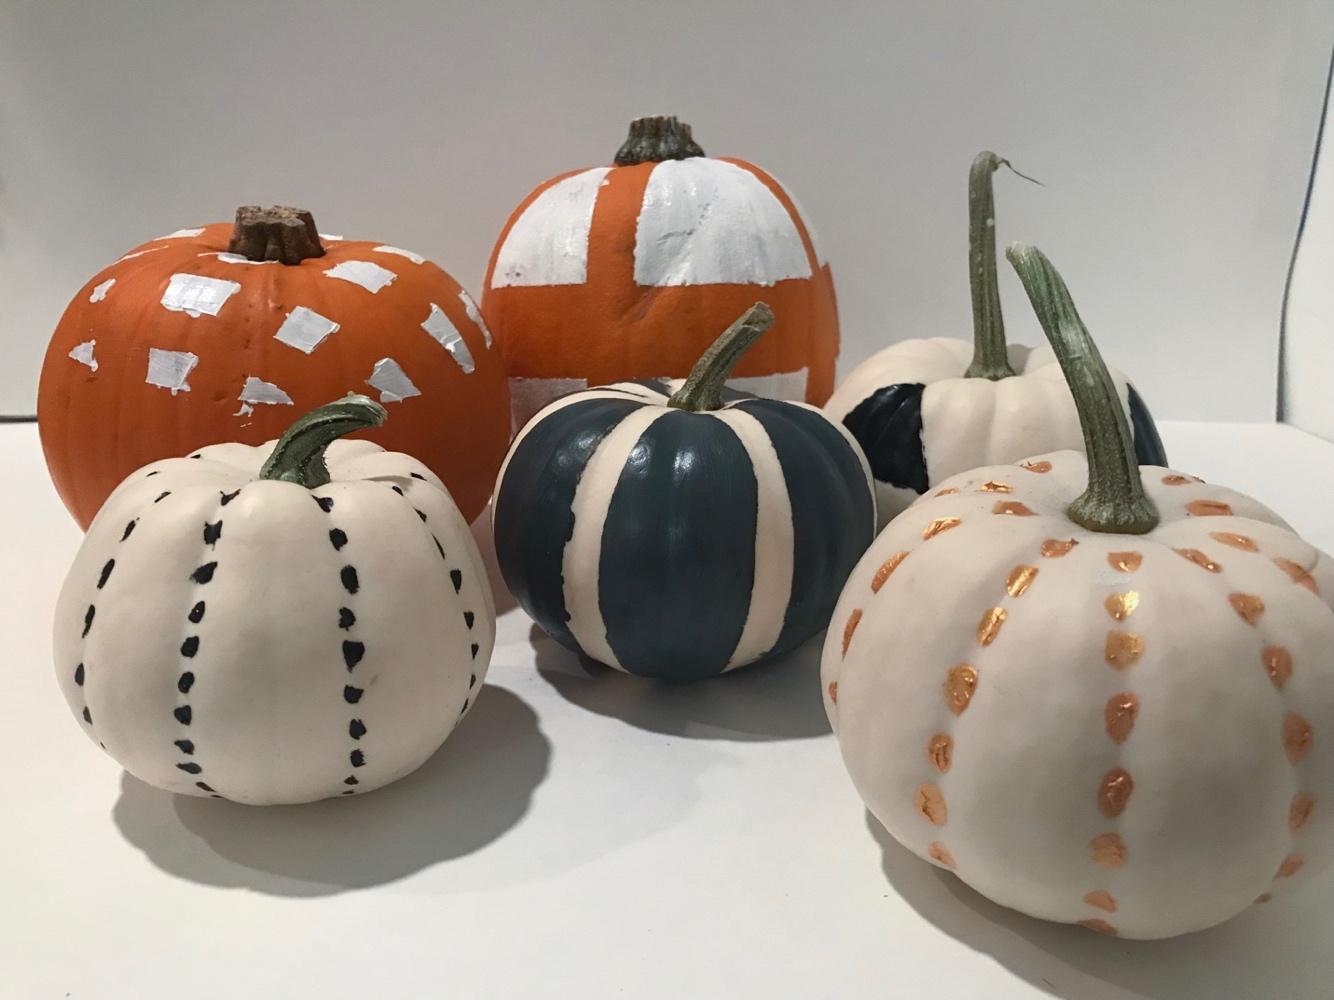
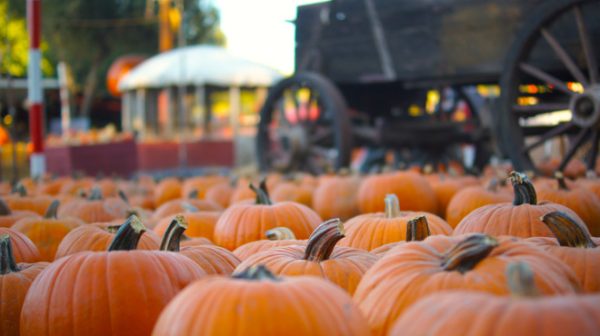
If you think carving pumpkins is too complicated and that pumpkins become rotten in a short amount of time, then painted pumpkins are right up your alley. Not only do they last twice as long as carved pumpkins, but you can add different colors to spice them up.
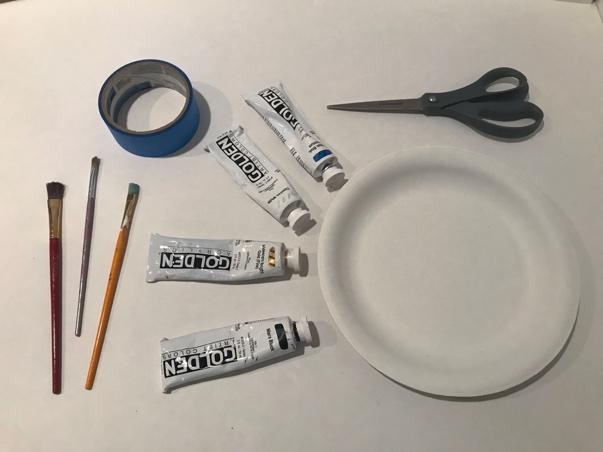
To achieve these painted pumpkins, you will need:
- An assortment of pumpkins, any size and color will work
- A pair of scissors
- Masking tape
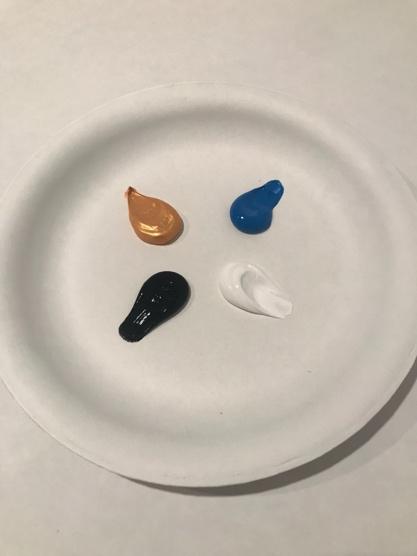
- A variety of paints. I chose to use acrylics because I found that this type of paint stays better on the actual pumpkin
- A plate or pallet to mix your paint on
- A few paintbrushes

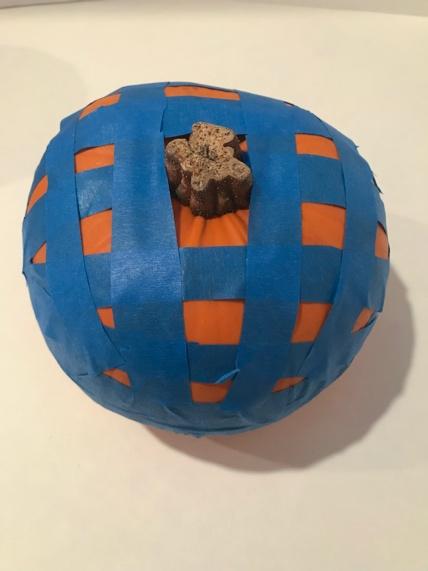
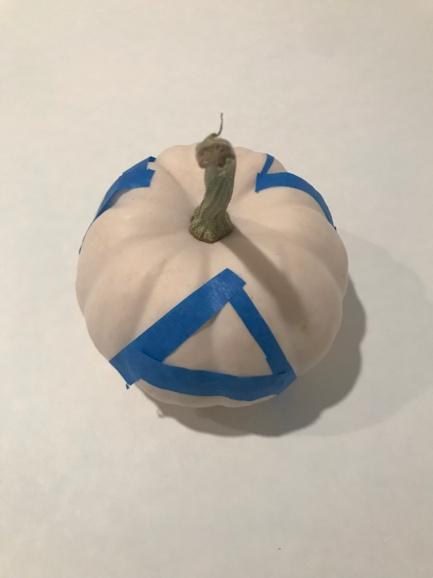
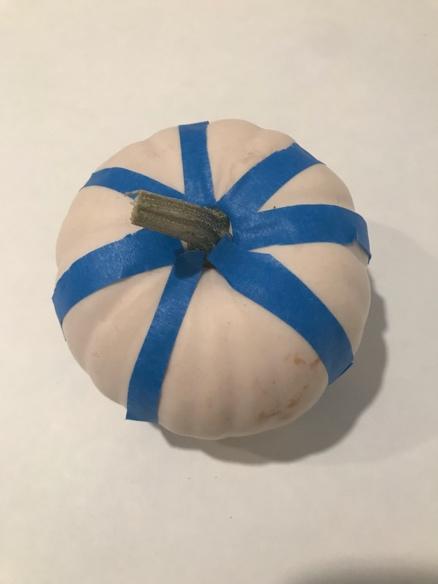
First, using your masking tape, create different designs and shapes onto your pumpkin. I chose to use the tape to create triangles and checkered patterns on my pumpkins.
Squeeze out your paint onto your plate or pallet to make sure that you can easily access it when you begin to start painting your pumpkin. I recommend mixing together different colors for a more unique shade of paint.
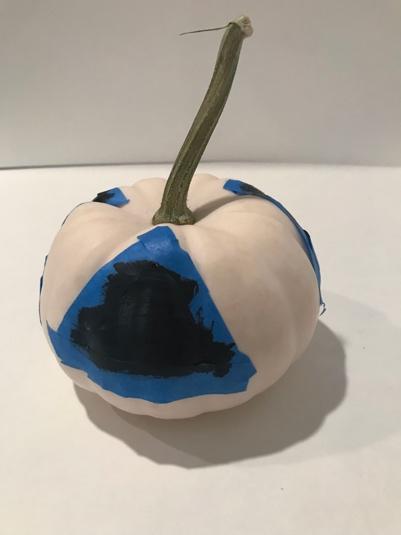
Either painting with the help of the masking tape for boundaries or freehanding, decorate your pumpkin with different designs and patterns. Go over your design with your paint more than once in order to create a stronger pigment of color. Another tip to make sure you achieve a thick coat of paint is to not dip your paintbrush in water before applying the color onto the brush.
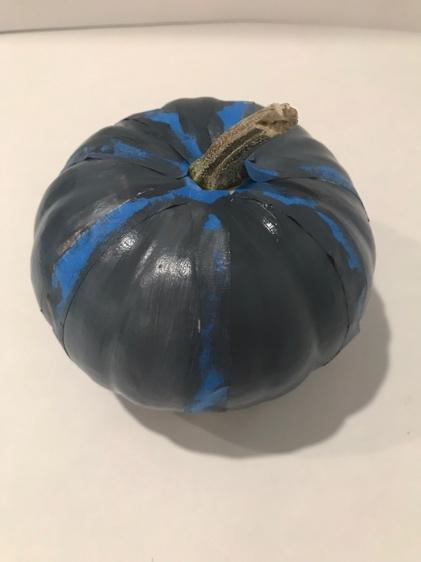
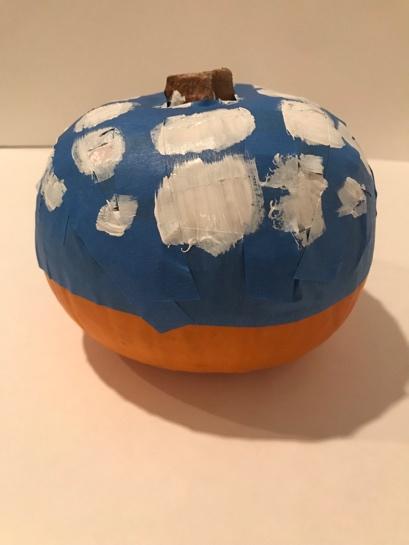
Do not remove the tape, if using, until the paint is fully dry to prevent the smearing of color. Have fun making them and enjoy!