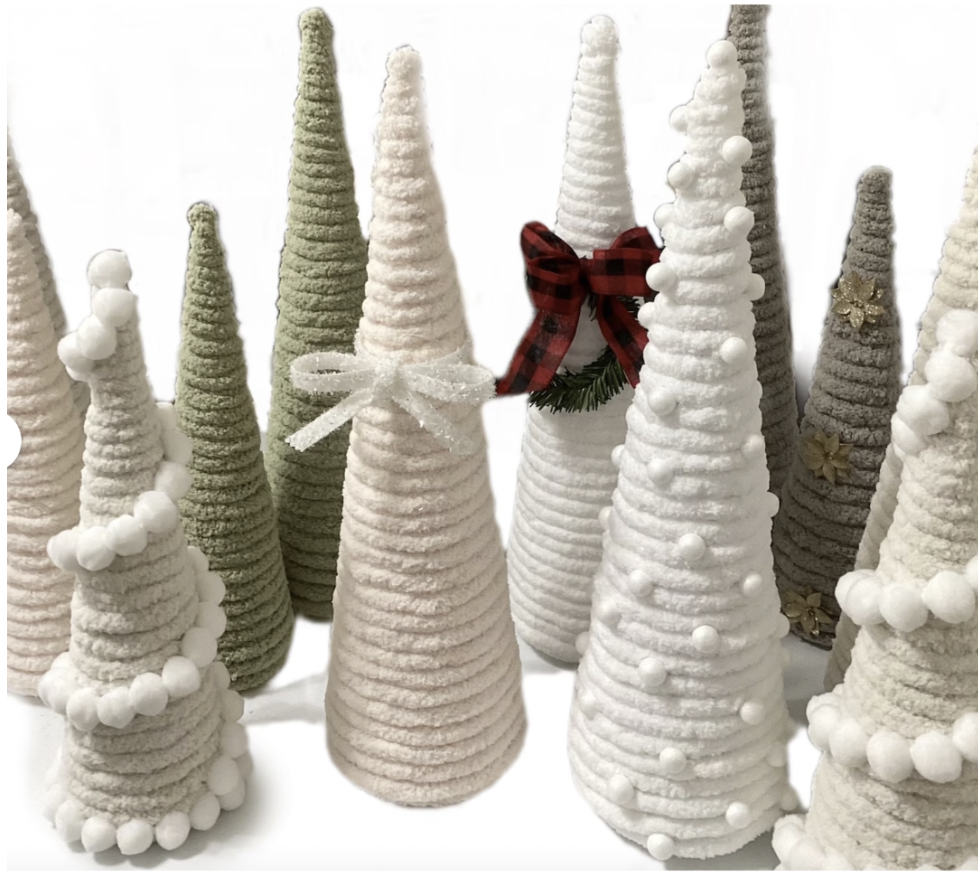
These yarn trees are so simple to make on your own for the holidays. Make a few to decorate your room, plus plenty of handmade gifts for your friends too. This year, I am seeing so many of these yarn trees in holiday decorations all around town, and I knew they would be easy enough to make at home in different colors, depending on your taste. The best part of this craft is that the possibilities are truly endless! A white or cream-colored yarn can be used for a neutral look, but you can use any combination of colors to match your decor. But make sure you pick bulky yarn to make your trees look lush and luxurious. Just when you think you are finished, you can personalize your tree with endless embellishments. You can use pom-poms, glitter, buttons, beads, mini-ornaments, lights, or even a tree stand. If you keep going, you will eventually create your own holiday village. Create and use whatever details that make you happy!
MATERIALS
- Yarn – bulky, fluffy, velvety, furry, fleecy . . . in the color your choice
- Cone-shaped, foam forms purchased at your local craft store . . . available in various sizes
- Hot glue gun and glue sticks
- Scissors
- Accessories and embellishments to personalize your tree: pom-poms, glitter, buttons, beads, mini ornaments, bows, tree-toppers, lights, etc.
STEP 1: Glue Yarn End to the Base of the Cone
Beginning at the base of the cone, glue the yarn ends to the bottom of the cone. You will only need a dab. Don’t hesitate to use multiple strands at a time, but be sure to glue them to the base of the cone, whether they are one end or many.
STEP 2: Wrap The Cone With Yarn
Continue to wrap the strands around the base. Be careful with those few first wrap loops to keep them neat and tight! Wrap, making sure each line of yarn is snug against the other line. You will not have to glue much more than the base and the top. Continue to wrap the yarn around the cone, working your way up to the top. Again, depending on your design, you can use one or several strands. Once you have reached the top, work your way around the top of the cone in a circular direction until the top is covered with yarn. Trim the end and glue where needed to secure the yarn at the top. Be sure to cover the entire cone.
STEP 3: Decorate The Yarn Holiday Tree
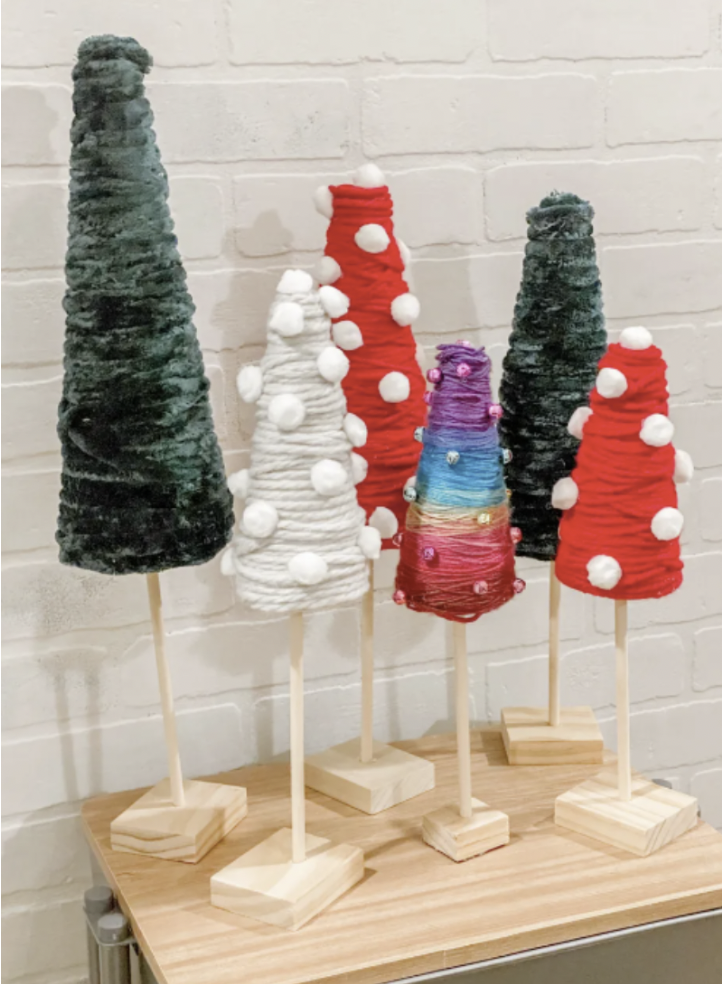
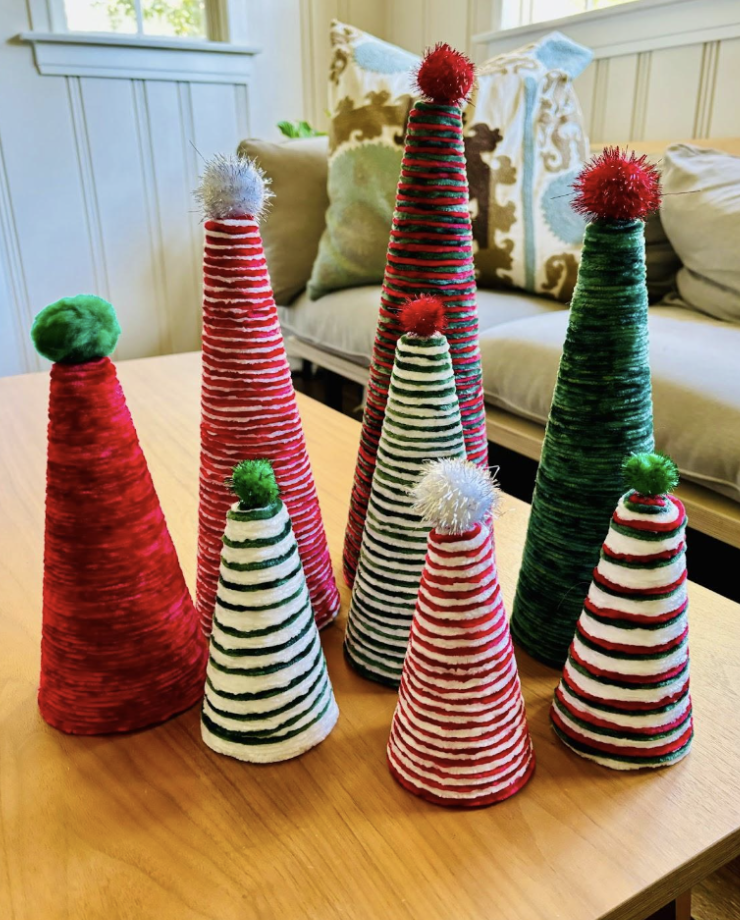
This last step is completely optional. Use your imagination; there are so many ideas, but easy ones are gluing pom-poms to the side of the trees as ornaments or even using mini-ornaments. You can also use these as tree-toppers as well. Beads, sequins, or even glitter can be used to embellish your holiday tree. But my favorite would be to elevate the look with a tree stand. You can insert a wooden dowel into the base of the tree and add a cute wooden form block or shape to attach to the dowel. Your tree village is underway, and you are ready for the holidays! Here is a little taste of my own tree village.